


The Step-by-Step Guide to Mound Repair
When your mound needs repaired, follow these steps to make sure your mound is repaired correctly.
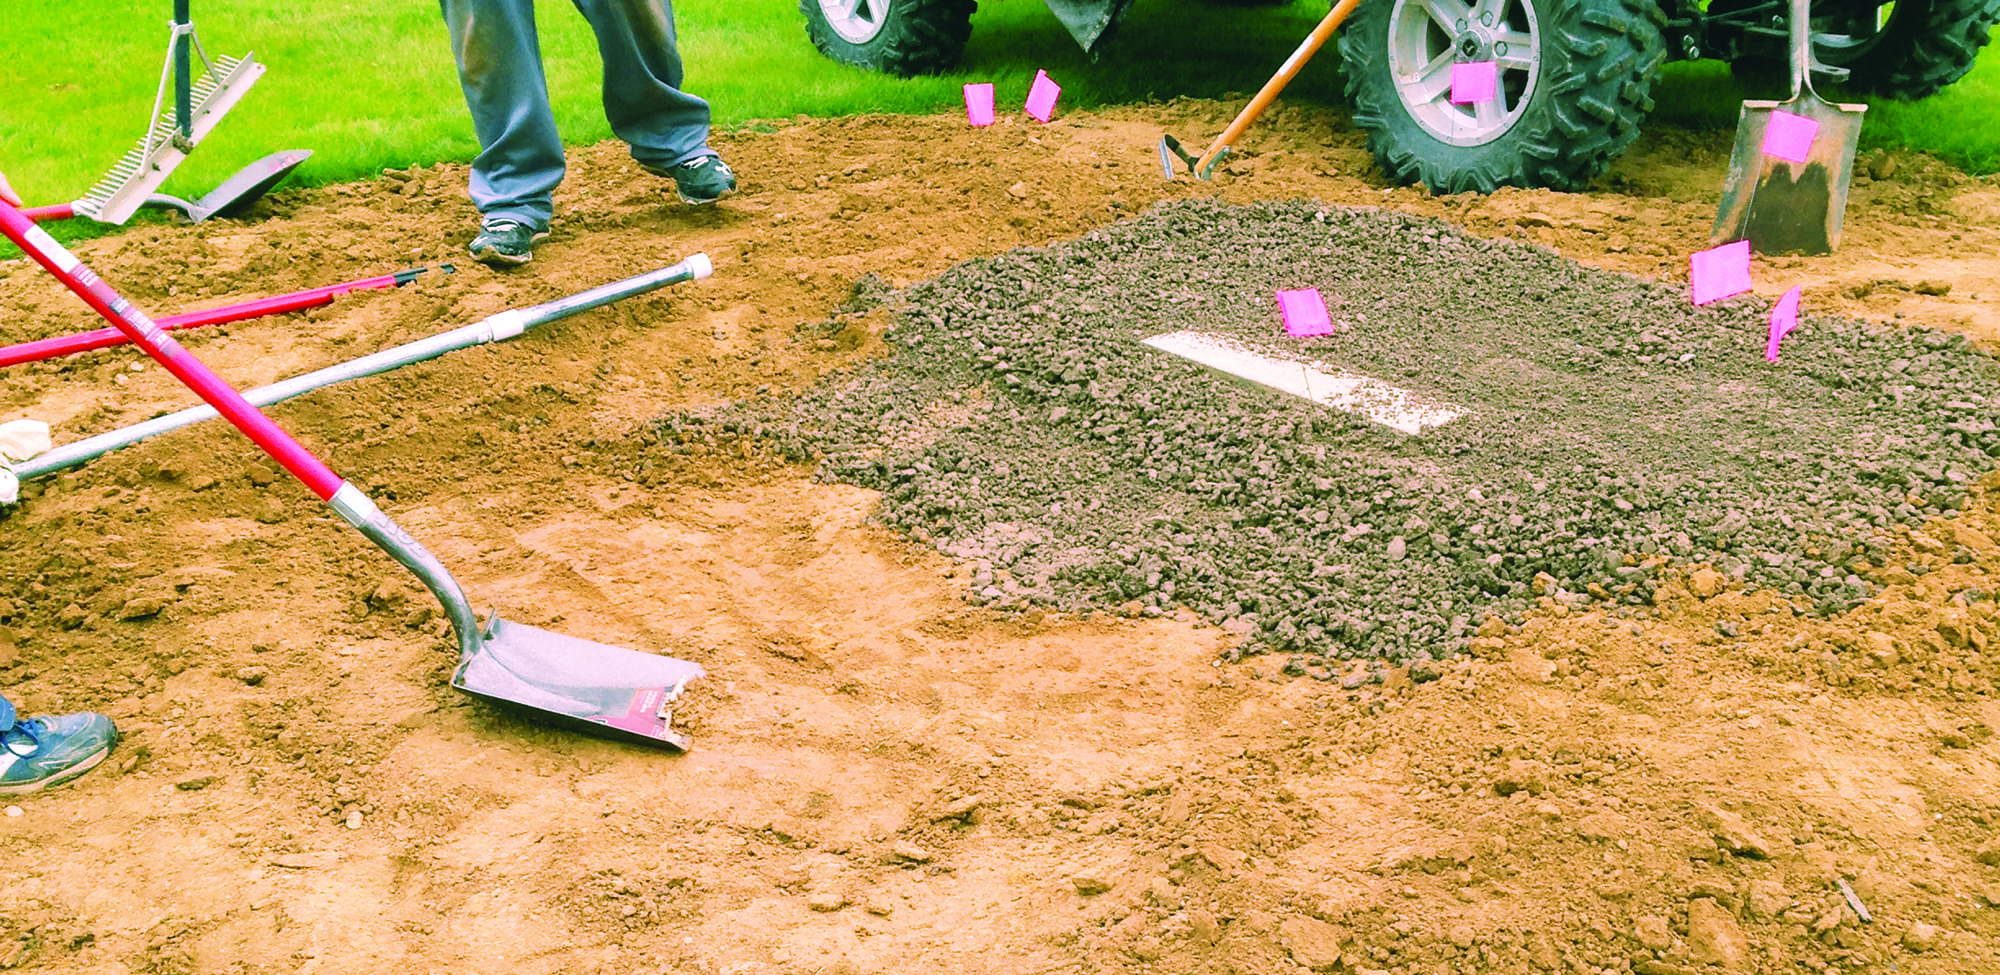
1. Excavate the front slope of your mound to a 4-6 inch depth; Batter’s boxes and catcher’s box to a 4-inch depth.
2. Moisten the bottom of the hole with water. Add an inch of mound clay with a rake; cut into the soil for proper bonding. Tamp firmly. Lightly moisten but do not drown, and tamp again.
3. Evenly add an inch of new mound clay to the area you are working. Tamp until firm. Water the area, but do not drown. Repeat. As you near the last layer, reduce the amount of water you add to the mound clay.
4. Use a rake to rough grade the slip in front of the mound. Tamp or roll the slope for a smooth surface. Add mound clay to any low spots and use your rake to cut down the high spots. After leveling, tamp or roll again.
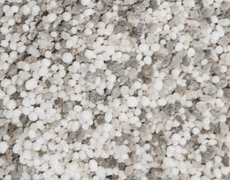
5. Add a final coating of water on the mound clay areas once all grades and slopes are set and rolled. Finally, topdress all mound clay areas with your infield mix to match the color of your infield.
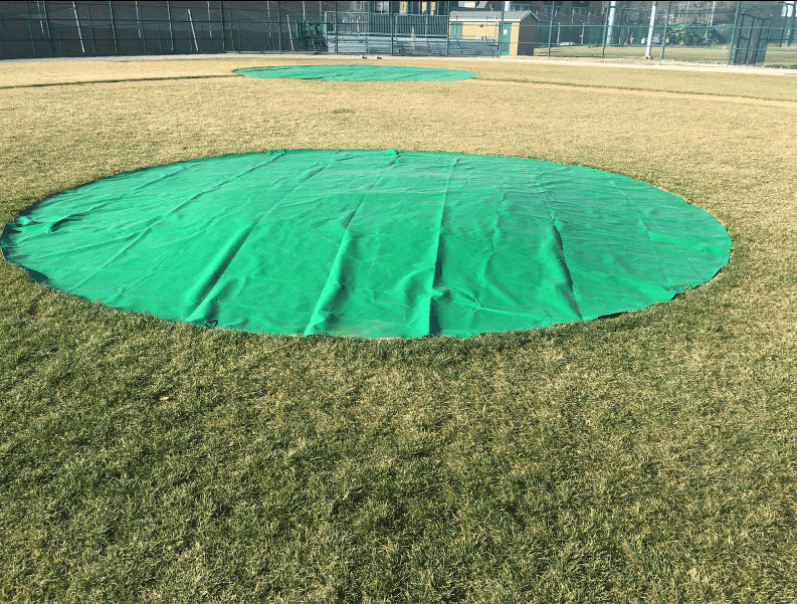
6. Moisture management is key to keeping holes to a minimum. The use of rubber mats or a plate tarp is recommended after play is finished.