
Aeration can be disruptive and inconvenient for golfers, but it is an important process for turf health and performance. It is chiefly important for reducing soil compaction and thatch build-up. Soil compaction hinders oxygen movement into the root zone and the percolation of water. It can also hinder the movement of nutrients into the soil profile. Thatch build-up can restrict water movement and starve your turf of oxygen. All of these issues negatively impact root growth and overall turf health. Aeration is the solution.
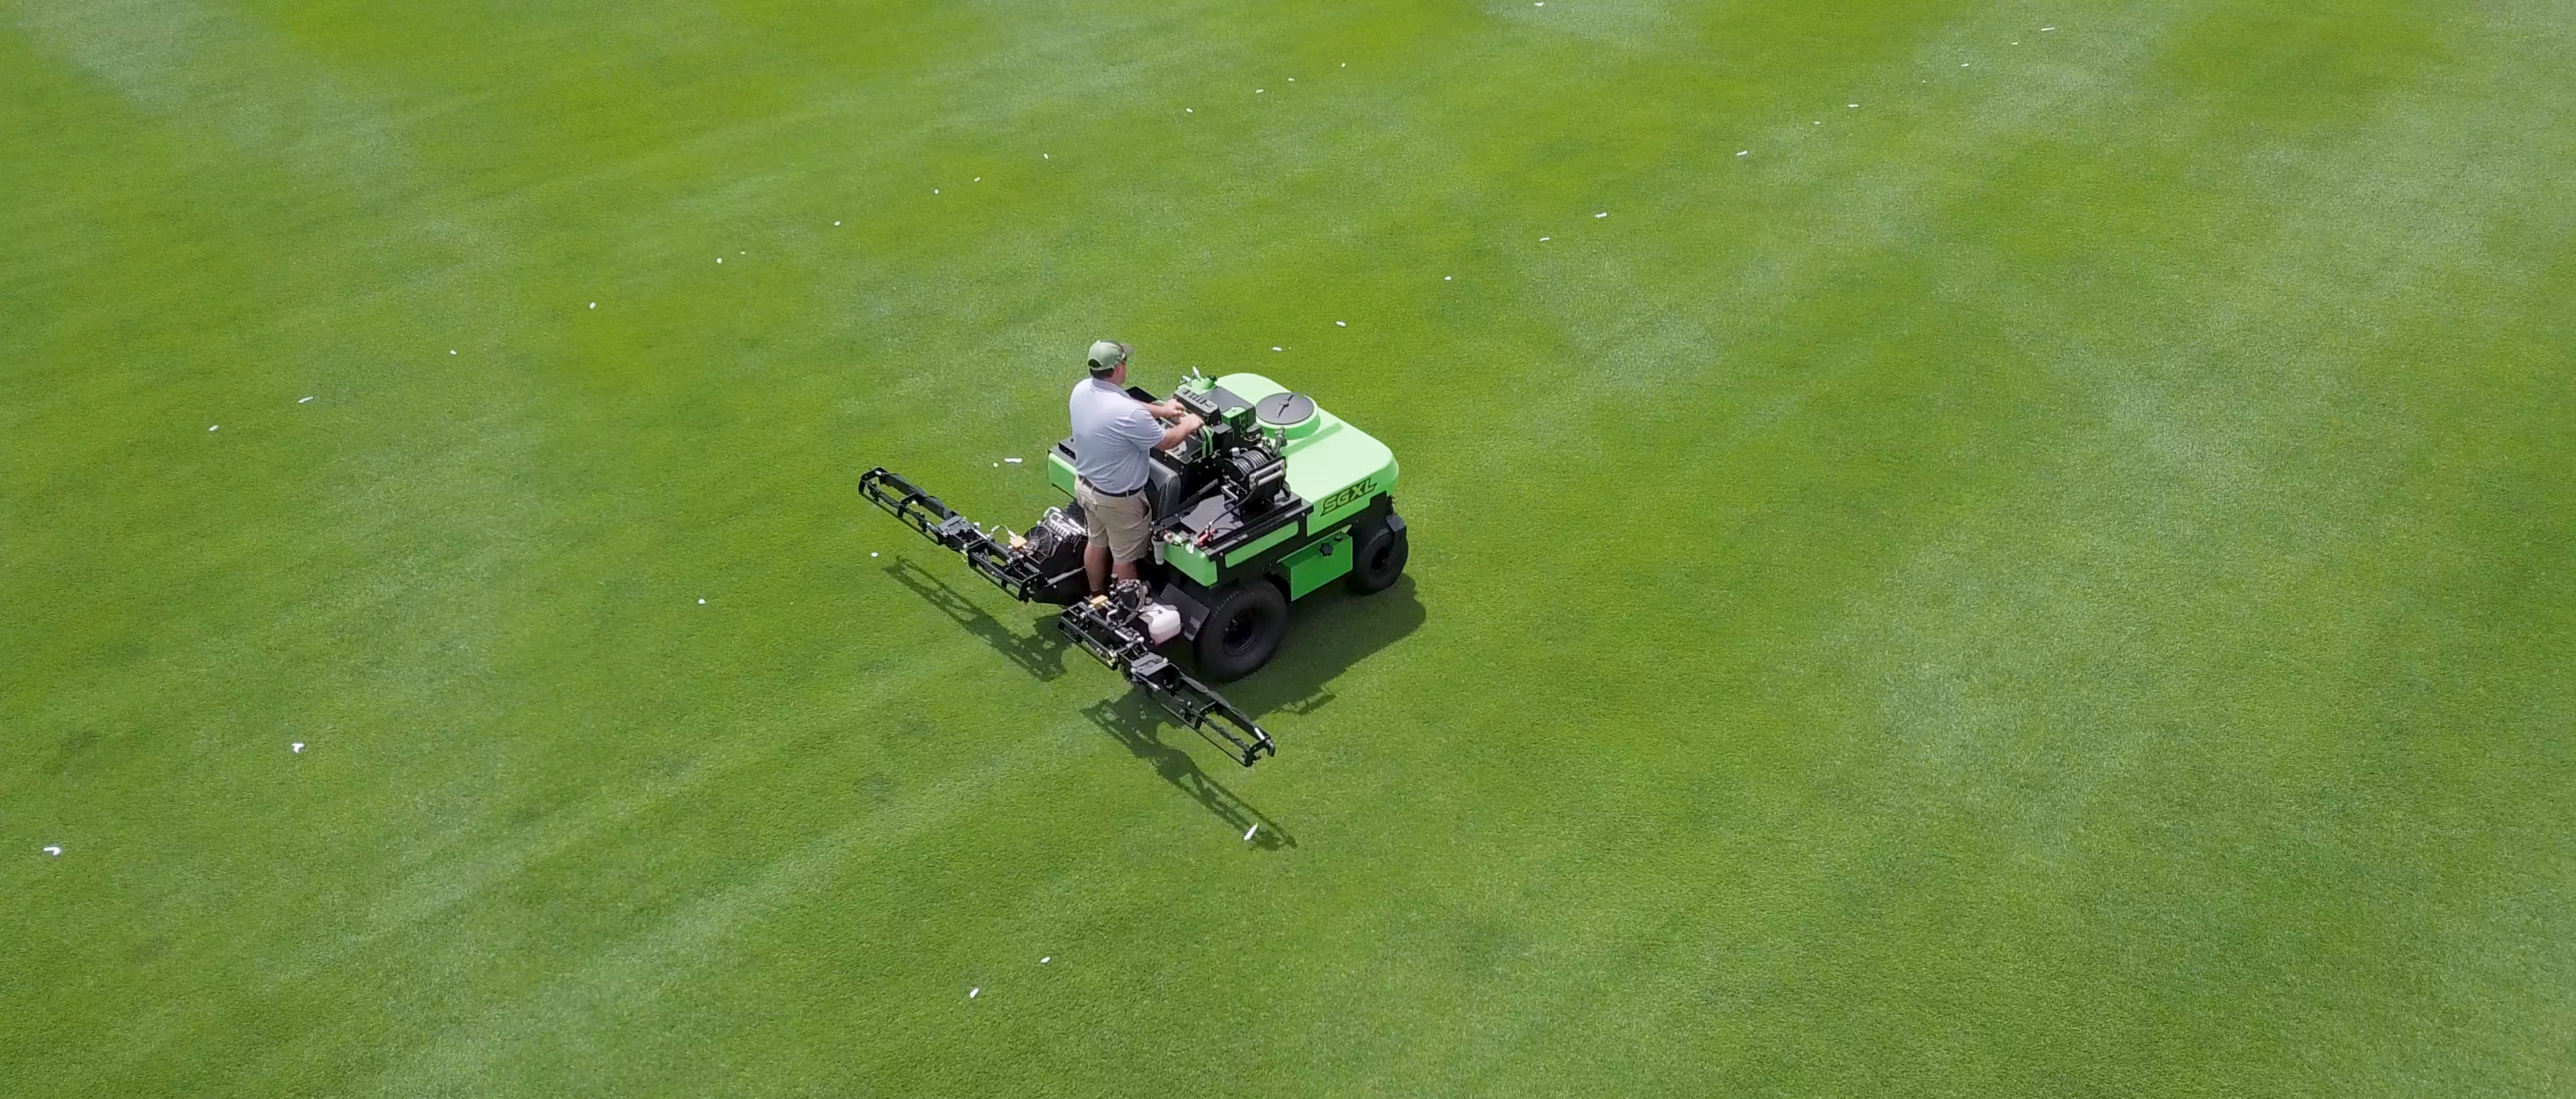
Nearly all types of aerification are done mechanically, utilizing either tractor-mounted or self-contained units. Different types of aeration include : traditional hollow tining, which pulls a core, solid tining, needle tining or venting, deep tine aeration, dryject, deep vertical slicing and a new process, which injects air. The old style, drum-type aerifiers are still used for lawns and golf course roughs. The use of machines with vertical coring heads, which have the ability to select tine types and hole spacing, have revolutionized the process for aerification on golf course greens, tees, and fairways. These will be the focus in this article.
1. Plan Your Aeration Program
The most important thing to do before you start to aerate is to come up with an effective aeration program. The first step is to ask yourself what you are trying to accomplish by aerating. Are you aerating to change the soil profile, or are you aerating to add in organic matter? The needs of the turf and soil will dictate how you aerate. For instance, use hollow tining for thatch reduction and profile amendment and use venting, deep, needle tining, air and vertical slicing for oxygen and root enhancement.
2. Consider Timing
Aerating whenever possible is a good practice, as long as undue stress is not put on the turf. Traditionally in hollow tining, spring and fall applications are best. This helps the turf avoid stress, yet encourages quick healing with the higher soil temps. Deep tining is in a similar time. Needle tining or venting is great to do during stressful times on golf greens.
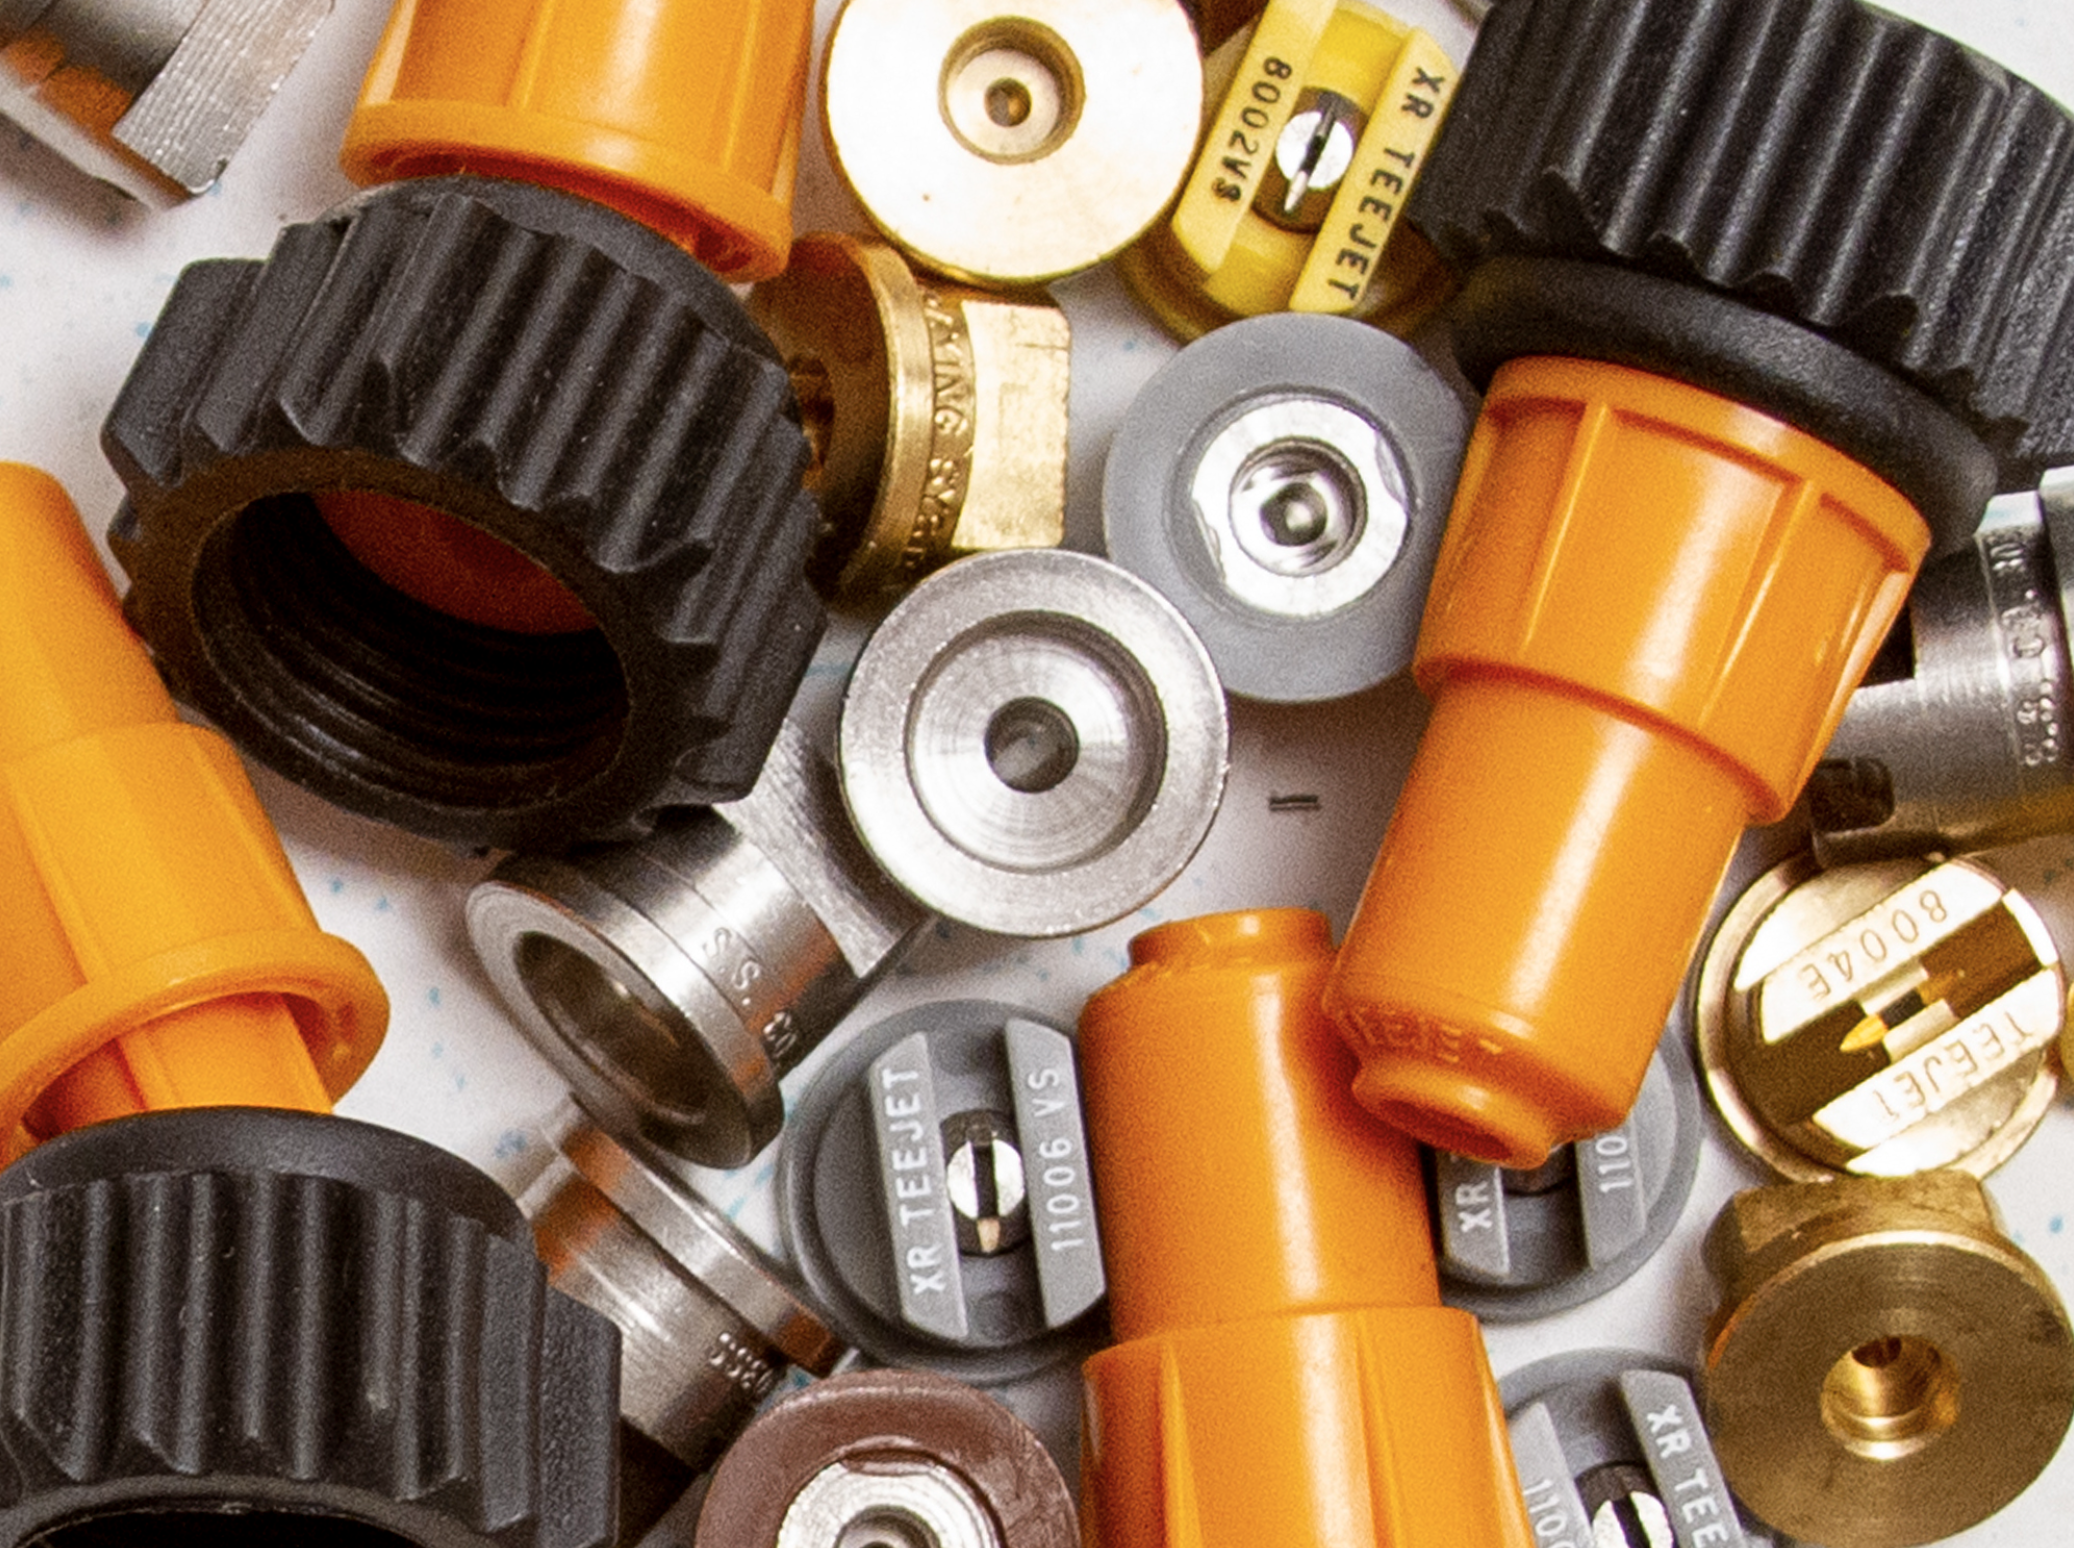
3. Check the Condition of Your Equipment
Make sure equipment is working properly.
4. Select Tine Size and Spacing
Consider the amount of surface area that you want to be affected. Tine size and spacing directly influence the amount of surface area that is impacted.
The aeration chart (below) is an excellent tool for identifying the percentage of surface area being affected by tines of different size and spacing.

Also consider healing time when selecting tine size. Small tine holes will heal quicker than larger holes. For quicker healing and recovery, apply this program 3 days prior to and 7 days after aeration.
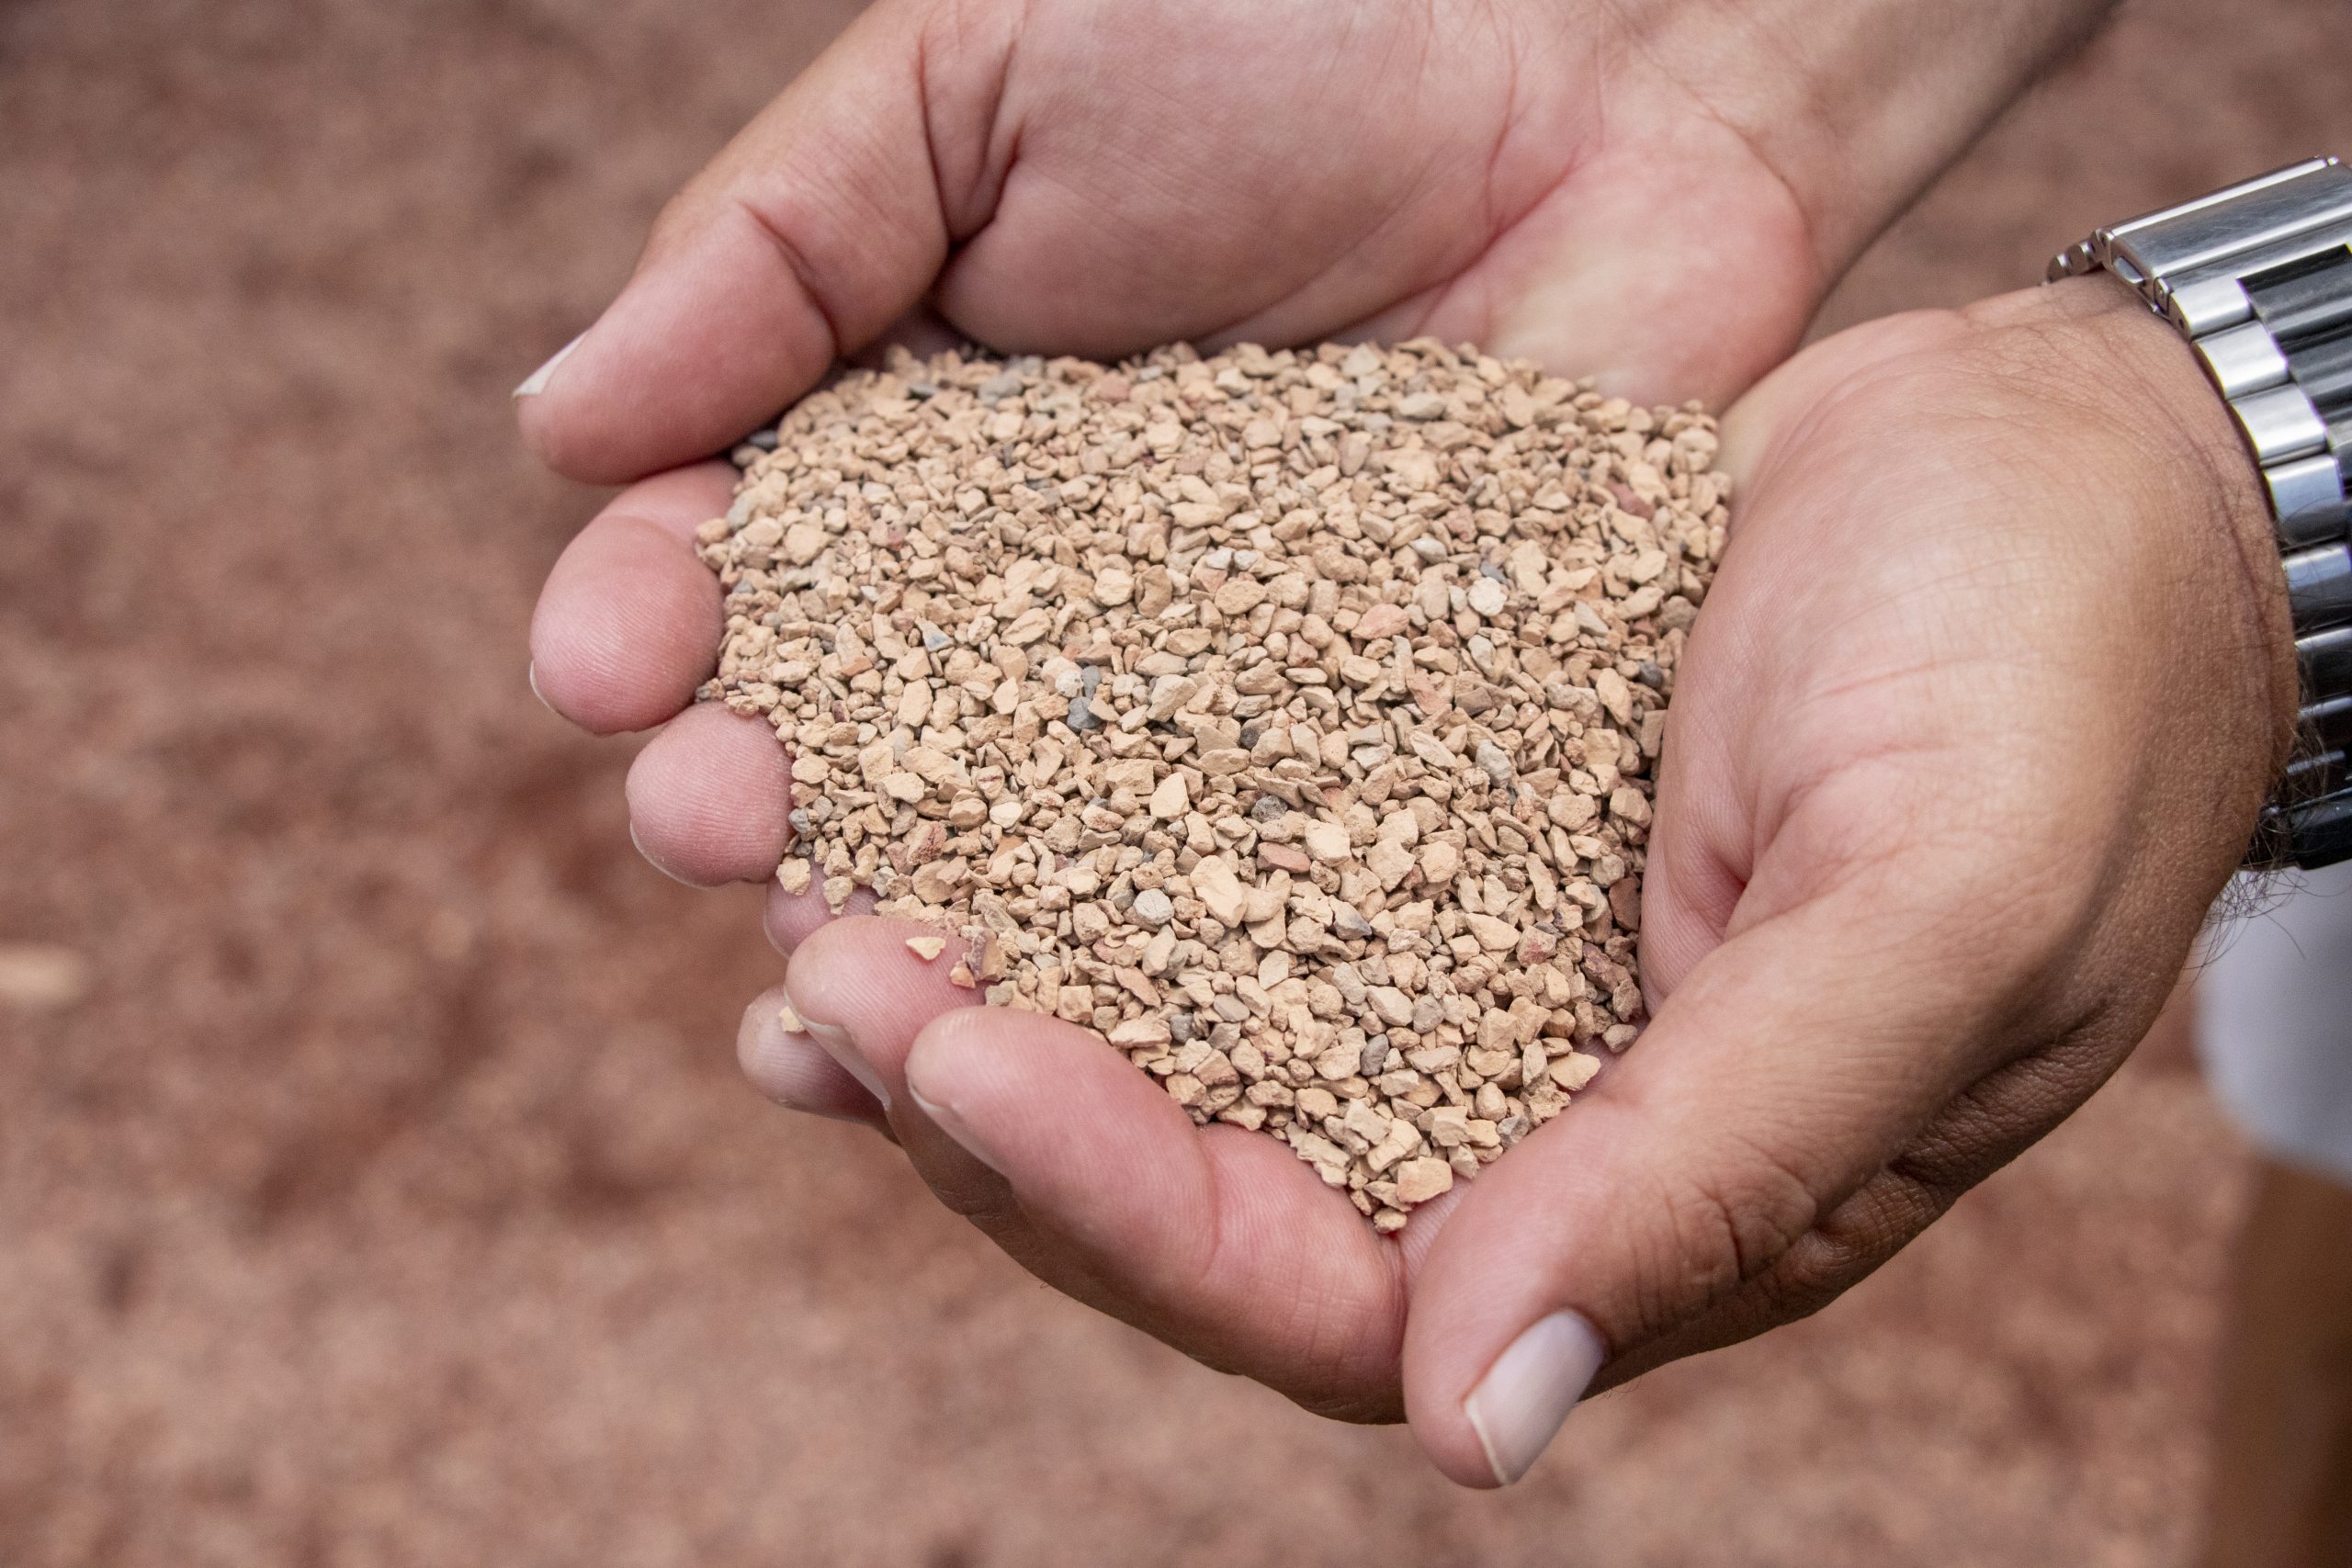
5. Clean Up and Get Surfaces Back to Normal After Aeration
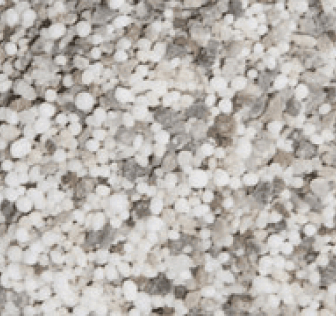
Remove the plugs, apply topdressing sand, and work the topdressing into the holes using a tow-behind brush or a push broom.